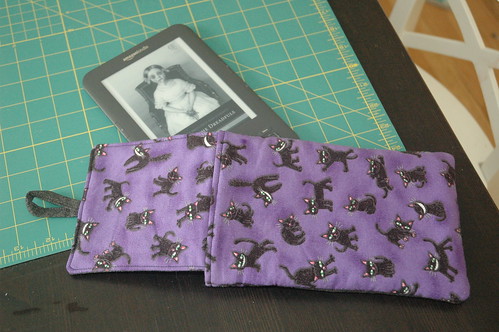
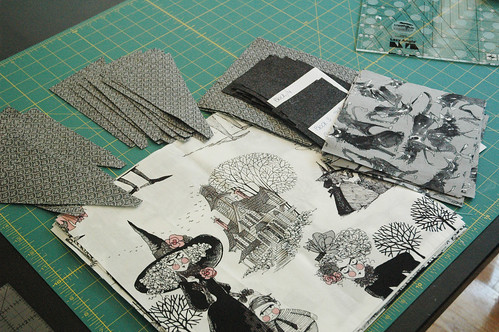
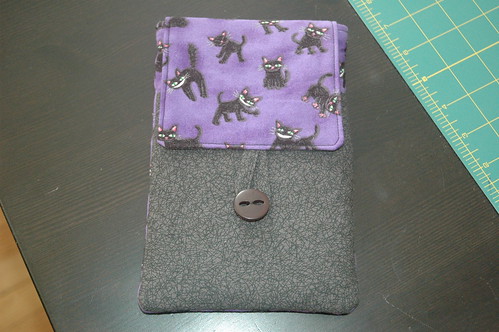
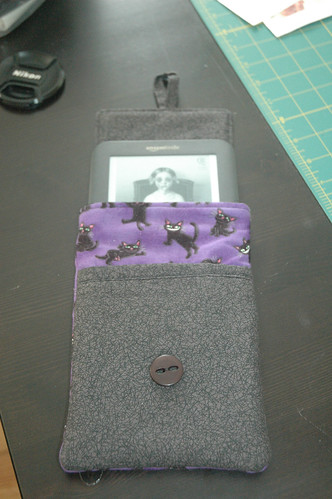
Today I finally got around to cutting the remainder of my Halloween Taffy strips from the Ghastlies charcoal Bramble fabric, finding out at the end that I had enough to use to make a Kindle case for myself, without needing to buy additional yardage.
I also finally got around to digging up the purple cat fabric I've had stashed for several years. It's from Robert Kaufman's "All Hallows Eve" line. I remember seeing it, and just falling in love with it. I didn't have a specific project in mind for it at the time, and I've just been waiting to use it.
The purple cats paired well with the charcoal bramble, which is a lot less severe than a solid, which was another option I had considered.
The flash washed everything out a little, but that's okay as it actually allows you to see the detail of the bramble fabric. Having already sewn one of these cases for Jeff, it was a faster process than the last time, even though I restitched the pocket bias trim three times because it was slightly wobbly and it was driving me nuts.
Sunday, July 31, 2011
Friday, July 29, 2011
Twisted!
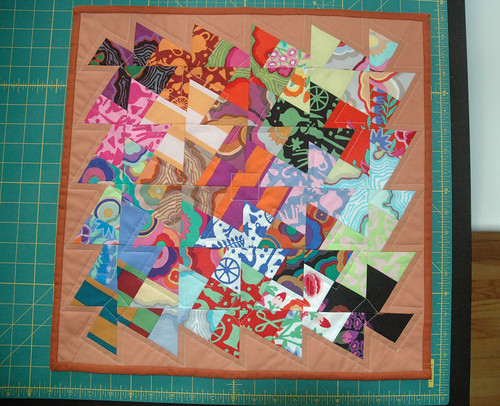
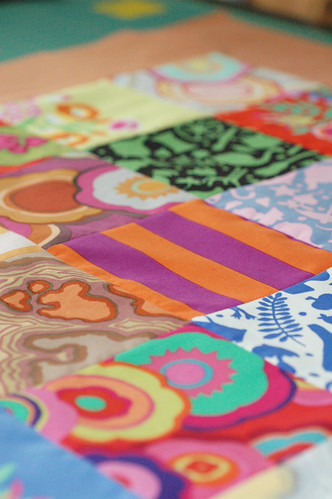
I managed to finish the Lil' Twister mini quilt.
Finished size 18.5" x 18.5".
This is actually the first quilt that I've finished in its entirety, not just the top. It was the first time quilting a quilt too, which was a bit intimidating.
Things I've learned from making this quilt:
Overall I'm really happy with how it turned out. I'm glad I got to reduce some stash by using the two orange solids that I had leftover from the Kitchen Window quilt, and by using cutting remnants from the pinwheels in the pieced back.
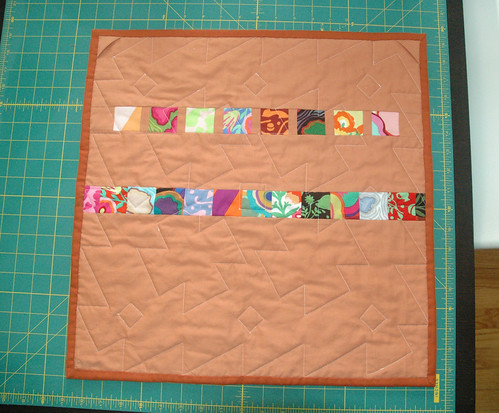
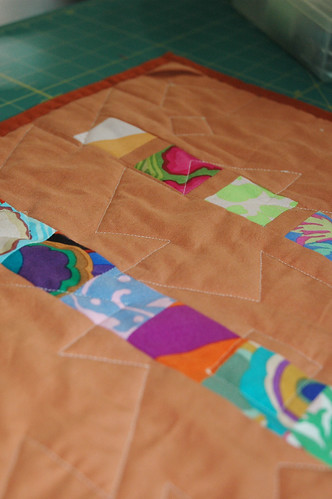
I stitched small fabric triangles into 2 corners on the back so that it can have a small dowel inserted to hang it.
Finished size 18.5" x 18.5".
This is actually the first quilt that I've finished in its entirety, not just the top. It was the first time quilting a quilt too, which was a bit intimidating.
Things I've learned from making this quilt:
- In future I probably want to match the thread I quilt with a little more to the sashing color. I had thought that the cream thread would work better than it did in the end. I don't consider it a problem, and it doesn't look bad at all, but it's a bit of a learning curve.
- Figuring out how to quilt a quilt is difficult and I find it intimidating. I'm new at it, so that's understandable. I can see where free motion quilting in a stippling or loopy design is popular when you're not sending a quilt out to get quilted, it takes some of the difficulty out of it. I ended up doing pretty well, I thought. I quilted some of the pinwheels in the middle of the quilt, and then quilted some of the centers of other pinwheels because I was a little too worried about there being too much space between quilted bits.
- In future with the twister pinwheels I might end up alternating solids with prints for some more visual pop. Because of the ways you cut up the fabrics and re-sew them, and with these particular fabrics that have so many colors within each one, in some cases it can just blend away a bit too much.
- During the process of quilting this I figured out some techniques that will help the next time I quilt things that are separately quilted areas and not continually quilted. A tutorial from Elizabeth Hartman's site helped a lot with that.
Overall I'm really happy with how it turned out. I'm glad I got to reduce some stash by using the two orange solids that I had leftover from the Kitchen Window quilt, and by using cutting remnants from the pinwheels in the pieced back.
I stitched small fabric triangles into 2 corners on the back so that it can have a small dowel inserted to hang it.
Tuesday, July 26, 2011
Twisting
It's been a little quiet, in no small part due to spending part of the (blisteringly hot) weekend camping. The camping was great fun, but I admit that I did also enjoy being able to climb back behind my sewing machine and get some sewing done.
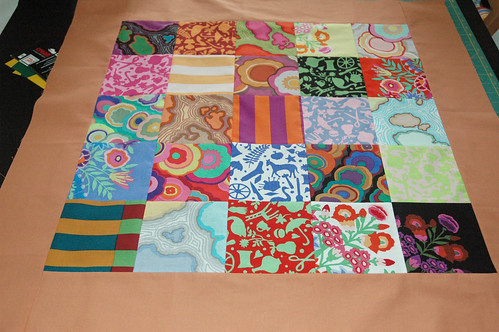
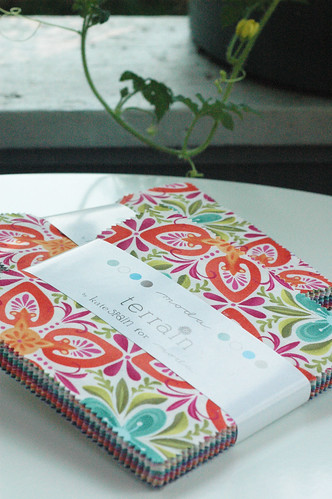
Last week I received some of the solid white charm squares and a few other solids that I'd ordered to use with the Terrain charm packs. I also picked up a charm pack of Kaffe Fassett fabrics, his Fall 2010 collection, which was half off at the Fat Quarter Shop. I wanted to try out my new Lil' Twister template, and also this would be a good mini quilt for a birthday gift. The person I'm making this for is really a person who suits Kaffe Fassett fabrics. Bright, bold and fearless colors and patterns, riotous. In a stroke of luck, the solids I used in my Autumn Kitchen Window quilt went well with the KF squares, so I was able to use up quite a few leftovers, which was nice.
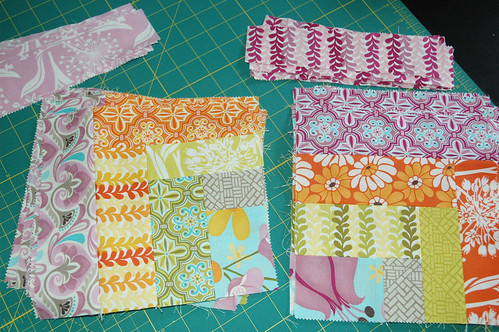
Making one of these is really simple. First you sew the charm squares together with a border.
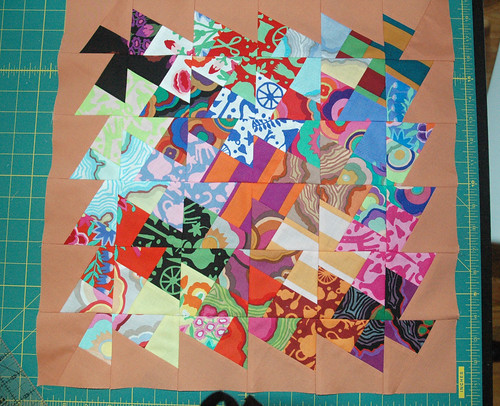
Then you place the template on the junctions between each square, and cut around it. Then you sew them all back together again.
You end up with quite a bit of leftovers after cutting, ~2.5" squares of each fabric used. If I'd cut a little more carefully, they might have been 2.5" usable squares, but I ended up with 2" squares. I used most of those to piece together the back.
I forgot to take pictures of the process between having a quilt of squares, and having twister pinwheels, so I'll actually document that part when I make another one, which will be shortly. I want to make another, a smidgen smaller though, for my son's aide Shannon (as mentioned in the previous post).
Tomorrow I'll hopefully have finished quilting this quilt (my first time machine quilting anything, eep!) and I'll hopefully have it bound too (first time binding!). So far I'm happy with the process and how it looks!
Wednesday, July 20, 2011
Traversing Terrain
When I first saw previews of this collection, I was totally hooked. I think Kate Spain's fabric collections are the top contender for my favorites, and she seems to outdo herself with each one. Verna and Fandango are great, and Central Park was amazing! And now, now Terrain! The colors are even bolder with this collection, fuschia and bright oranges and purples, counterbalanced with dark cactus greens and pale ocean blues.
The collection isn't due out until September, but it seems that since Spring Quilt Market bits and pieces have started floating around, mostly charm packs (5"x5" squares) and I've seen a couple of jelly rolls and a few Fat Quarter packs. Whatever the reason, I am not complaining!
So, I grabbed 2 charm packs on Etsy. I have some of the Terrain coordinating Kona Solids on the way (iris purple and cactus green). Along with a Lil' Twister template to make Lil' Twister pinwheels (which use charm squares). I'd like to make a mini quilt for Shannon, Dashiell's aide, before summer camp is done. She was his aide for the entire school year as well, and now for this, and I'd like to make her something by way of a thank you. I kind of hate buying teachers stuff. I never know what to get them, and it always ends up being one of those kind of lame gifts, like you get at Christmas from people who don't know you well: bath product gift baskets and such. While I know that making something for someone you don't know well obviously runs the risk of not being liked too, at least it feels like more effort and thought has gone into it than just grabbing something at The Body Shop.
Friday, July 15, 2011
Kindle Peeps
Back in May, my boyfriend Jeff gave me a Kindle for my birthday (most awesome birthday present ever!). Another friend, Kreestof, had pondered buying me a case for it, but as he wasn't sure what I'd like, he held off on doing so. With all the really fantastic fabrics out there, the idea to make my own had immediately come to mind, so I was glad he hadn't actually gone ahead with that plan.
Shortly after I got my Kindle, Jeff got himself one too. As my Kindle lives at home mostly, and his gets toted around a lot, his need for a case was much more immediate than mine, and just before he left to go to E3 in L.A. for work, we cobbled together a make-shift sleeve with some Alexander Henry Calaveras fabric, and a cloth pre-fold diaper that I re-purposed as batting. It wasn't entirely finished at the time, lacking anything to use as a closure, and it also lacked a lot of finesse, being a hastily sewn prototype, but it was functional and has housed his Kindle nicely for the past month or so.
The intention was to affix some Velcro as a closure and tweak some of the smaller issues, but plans changed slightly. I got a hold of some of Lizzy House's Castle Peeps fabric to make a Castle Treasury quilt. I showed Jeff the fabric and pattern, and asked if he would like to be the recipient of said quilt. He really likes Medieval stuff, fantasy, Lord of the Rings and all that kind of thing, so I had thought he'd be into that. In the meantime I'd found a PDF pattern on Etsy for a Kindle case... why reinvent the wheel, right? I'm not sure if he suggested using Castle Peeps for a Kindle case, or I did, but that's what ended up happening.
The batting I had ordered last week arrived yesterday, and I set to work last night. I adapted the pattern slightly to use Velcro instead of a button and loop closure (the latter is certainly easier).
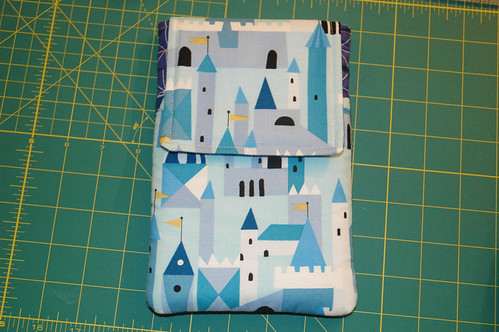
Main body is the blue shields fabric, the lining, pocket and flap outer is in Castle Town.
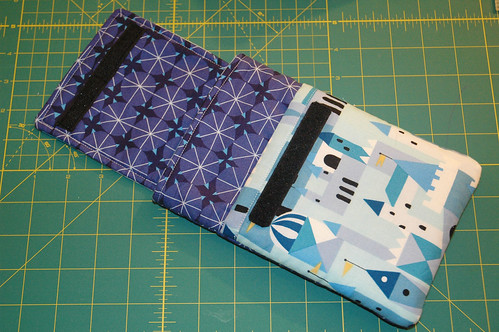
The main body in blue shields, and the pocket. Velcro closure.
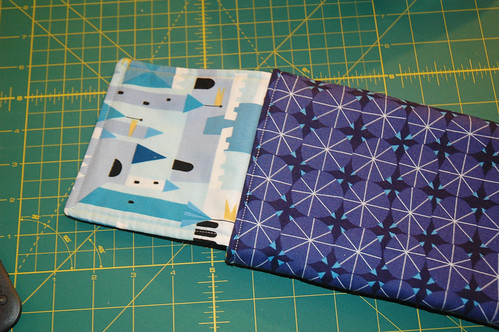
And the back!
Next I need to make myself one. I have some cute purple fabric with black cats, I think it was a Kaufman Halloween novelty print from some years ago. I might pair that with the charcoal Ghastly Bramble, or possibly the grey Ghastly Clover from the Alexander Henry Ghastlies collection. I need to dig up the fabrics soon and play around to see what works.
Tuesday, July 12, 2011
Starting With New
I'm not sure there are words to describe how much better sewing is with a machine that functions properly. It's so much easier! I'm not fighting to make the pieces go through straight now that I have a new 1/4" foot (after having to replace the one that came with the new machine due to being slightly bent). The feed dogs on this machine actually work properly, so things don't shift as much. I can finally sew without feeling all frustrated and on edge.
I'm very excited! It's nice not to feel constantly stressed while you sew, afraid that the inferior machine is bungling up your nice fabric, and that your quilt will, at the end, not be as awesome as you imagined because there are all these tiny mistakes constantly adding up to make the whole thing off.
The replacement foot didn't arrive until Friday, and I didn't get as much sewing done on the weekend as I would have liked, due to various social engagements, but I've managed to sew on my Flipside blocks a little yesterday and today:
That's roughly two-thirds of the way in, then I'll need to cut up the white sashing and such.
Tuesday, July 5, 2011
Holiday Weekend
I hope the US peeps all enjoyed their holiday weekend. My lack of a functional 1/4" foot meant no piecing this weekend, sadly. We also spent part of the 4th of July without power in half of the house, so a functional sewing machine wouldn't have helped too much. I did, however, use some of the time to select 20 squares from my Kate Spain Fandango layer cake for a planned Carnival (Jaybird Quilts pattern) quilt. And I cut a bunch of the pieces for my Halloween Taffy quilt (also a Jaybird Quilts pattern).
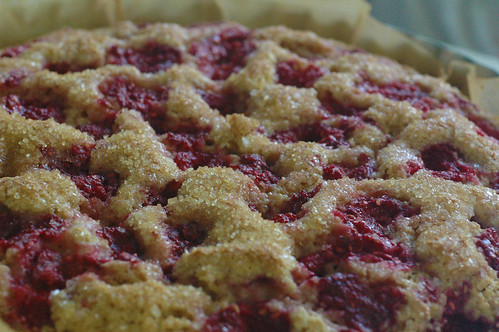
Thankfully the power didn't go out in the kitchen, so I was able to try out a recipe I'd seen on Heidi Swanson's blog, 101 Cookbooks: Salt-Kissed Buttermilk Cake.
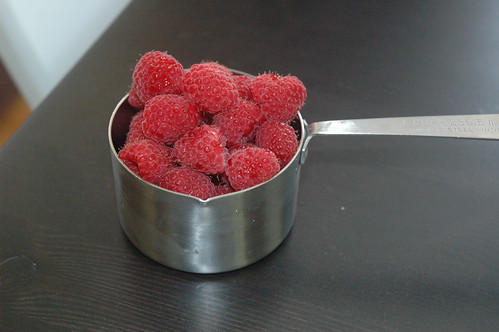
Mmmm! Surely berries are one of the best things about summer!
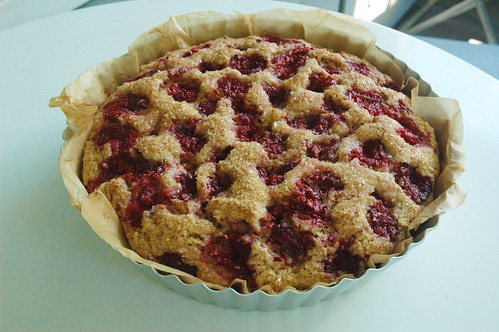
Salt-kissed Buttermilk Cake
A cake that you can feel a lot less guilty about! It uses whole wheat pastry flour (Bob's Red Mill to the rescue), 1/2 cup of sugar (+3 tbsp on top) and 1/4 cup of butter. As anyone who does any baking knows, that's not a lot at all.
I baked mine in a 10" tin, rather than an 11", which meant a few more minutes in the oven.
It's a very subtle cake, which I enjoyed a lot. A lot of cakes get drowned out by excessive use of sugar, and with only a little of it used, it really allowed the lemon zest in the batter to shine too.
Certainly this is a recipe to add to the rotation. My only future tweaks would be to use a little less of the salt on the top, as 1 teaspoon ended up being a little much for us. With the buttermilk making the cake a little saltier anyway, and there not being a huge amount of sugar used, too much of the topping salt can be a touch overpowering. However, your mileage may vary and all that.
The kids enjoyed the cake too, though it was difficult to get Miss Matilda to stop digging out and consuming only the berries. Cheeky miss monkey!
Sunday, July 3, 2011
Sunday Stash #1
I had been looking forward to sewing with my new machine, until I started to set things up this morning, and realized that the guide on my new 1/4" foot was bent slightly. Rather than guiding 1/4" (or a scant 1/4") it was doing more than 1/4". Obviously that presents an issue and makes accuracy a lot harder. Of course this kind of thing would be something I notice on a holiday long weekend, meaning that the web form that I filled out on Janome's site won't get read until Tuesday. And it figures that the one issue I have is with the foot I want to use the most. On the upside, the Aurifil thread I ordered will likely be here when the new foot is too.
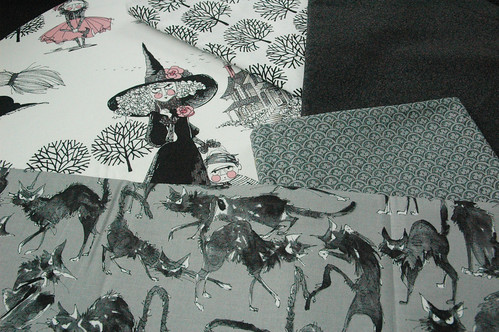
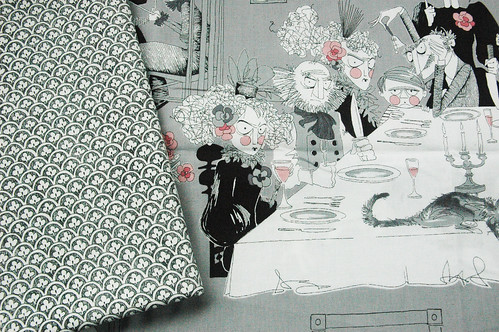
However, the mail did deliver some new goodies this week, including the Ghastlies fabric I ordered for my Taffy quilt.
The main pattern for the focal star blocks. The trees-on-white for the star points. The charcoal bramble for the space around the star blocks. Sebastian the cat for the block corners, and the grey clover for the block sides. When choosing the fabrics online I had been a bit wary about whether it'd be too subdued or lacking in enough contrast, but seeing them in the flesh I'm feeling much happier about my choices.
I have no solid plans for the back yet, but I picked up these two Ghastlies fabrics to use in it. The clover-on-white was a back-up if I wasn't too happy with the trees-on-white, and I decided that while I didn't want to use the Ghastly Night print in the quilt top, that I would use some in the backing.
With my new sewing machine being out of commission for quilt piecing until I get a replacement 1/4" foot, I may end up cutting a lot of pieces for a few planned quilts. The Ghastlie Taffy one, and a Carnival quilt in Kate Spain's Fandango line.
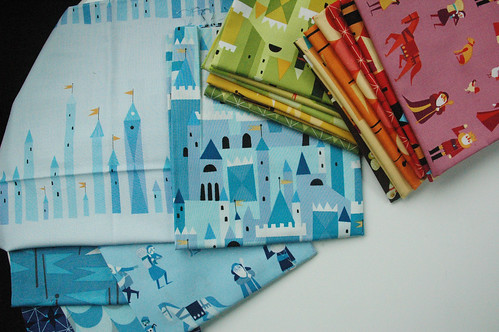
And this week also brought some of Lizzy House's Castle Peeps. I want to use those fabrics to make her Castle Treasury quilt, which looks fun and playful and colorful.
Subscribe to:
Posts (Atom)